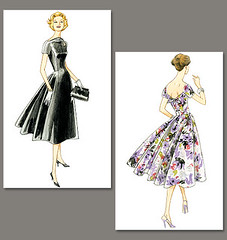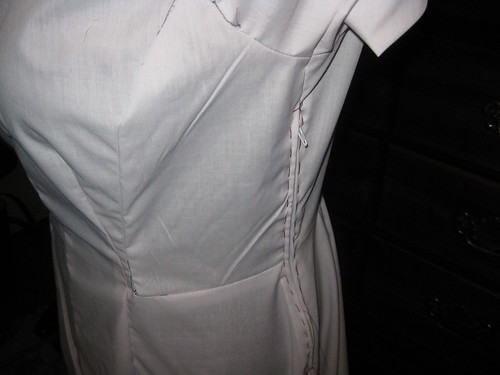
Over the weekend I was able to sew and fit the muslin for Ms. PB's banquet dress. As a rule I make muslin for clients. It helps me with fitting, of course, and it helps identify the challenges in the construction process and how well the pieces go together. With each project I glean more useful information from the muslin process. Making the muslin provides information on how the garment will look draped on the body. One of Ms. PB's first questions about the pattern illustration was, "Will the dress stand out as it does in the pattern drawing?" My response was, "I've learned over the years that the drawing may be a little exaggerated. The truth in the shape and foam of the dress will come in the muslin made in a similar fabric as the desired dress." In this case, there was not a lot of body in the form of this dress. It hangs close to the body.


Fitting changes: The overall pattern fits a little big on Ms. PB. Throughout the bodice and skirt I could have cut the pattern between size 16 and 18 instead of size 18.
- Sides take in 1/2 inch
- Sway back adjustment needed -- increase the darts and fold out about 1/4 inch along the center back (small back area)
- At upper back seam where the sleeve and bodice join, take in 1/4 inch
- At shoulder seam increase the seam allowance of the back upper sleeve

There are a few challenges: the joining of the side front to the front bodice/skirt was that the upper and lower corners. And the upper seam of the side front didn't evenly go together. So that needs to be tweaked just a little bit.

Design changes:
- Sleeve length is above the elbow
- Add slits at upper sleeve seam
- Cut skirt at pattern length, but it may be adjusted at first dress fitting
- Deeper pleat at center back
That's it so far. Will see how the next fitting goes.
C